Introduction
On this page, I explain the basic operations so that first‑time users like you can smoothly play and customize dance MVs using the app.
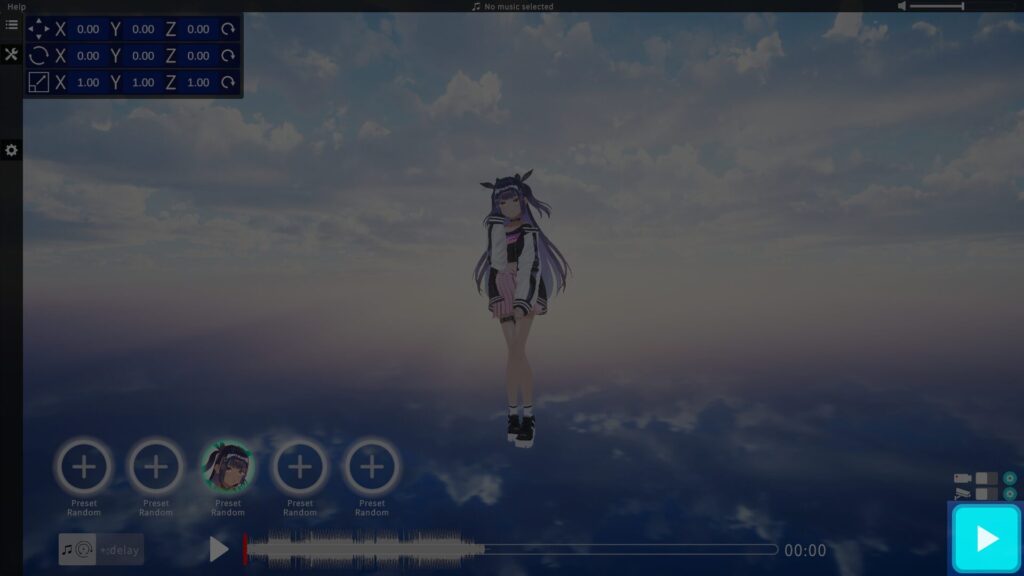
Quick Start (Let’s try playback first)
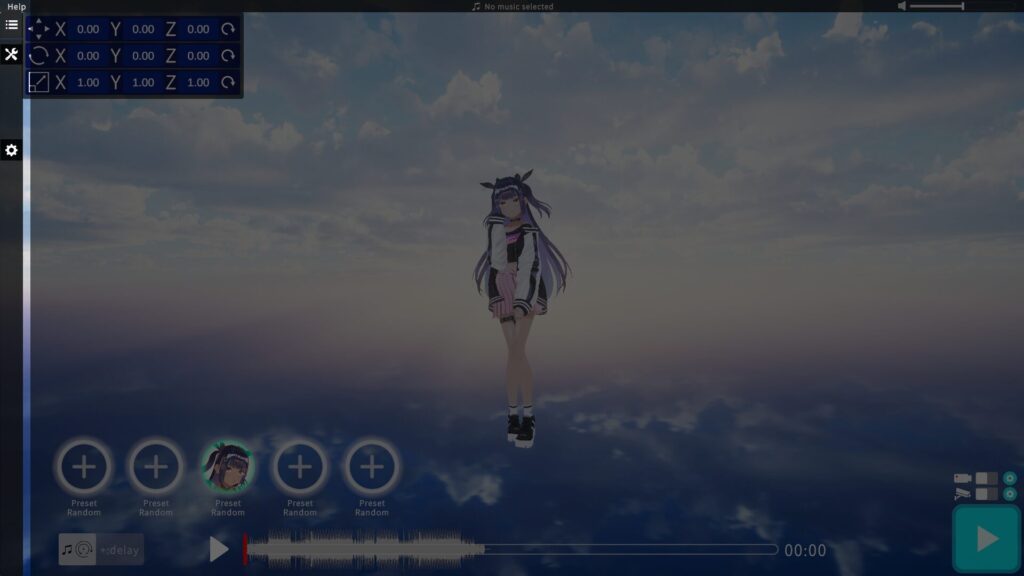
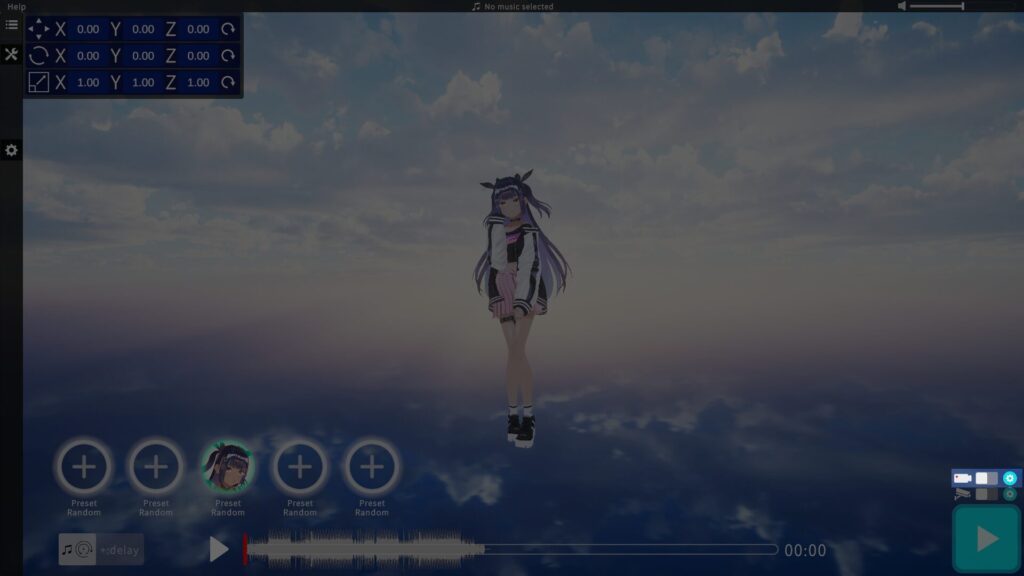
After launching the app, click the Play button at the bottom right.
That’s all you need to do to start a dance MV with a preset avatar.
- Camera Work: I apply automatic camera‑angle changes in sync with the music.
- Dance Content: Preset dance motions play continuously and in random order.
▶ To switch cameras at any time
Press the Space key to manually cycle through camera angles.
▶ To stop playback
Press the Esc key or Backspace key to end the MV.
Switching VRM Models
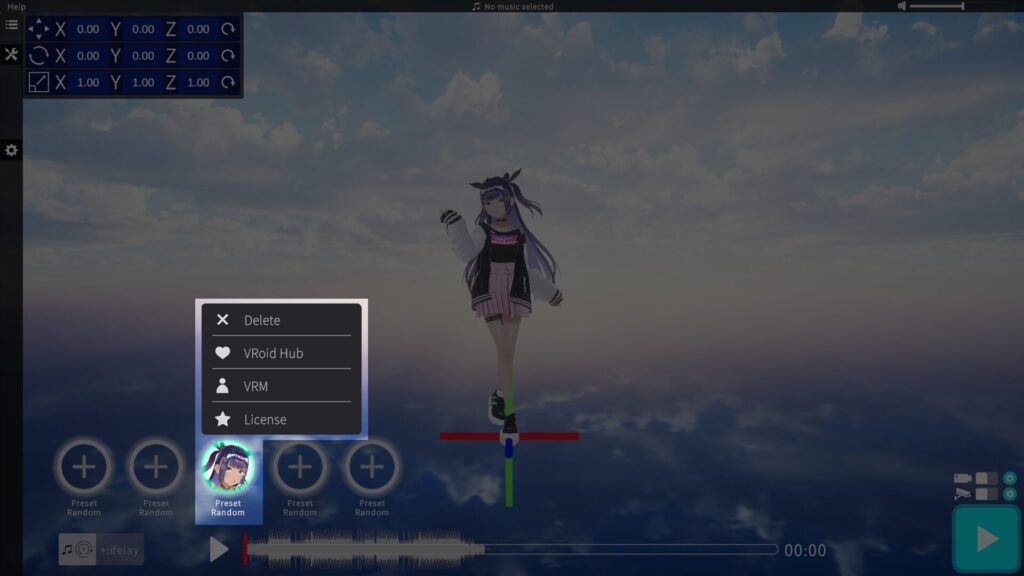
Click the button at the bottom left to change the character (VRM model) in use.
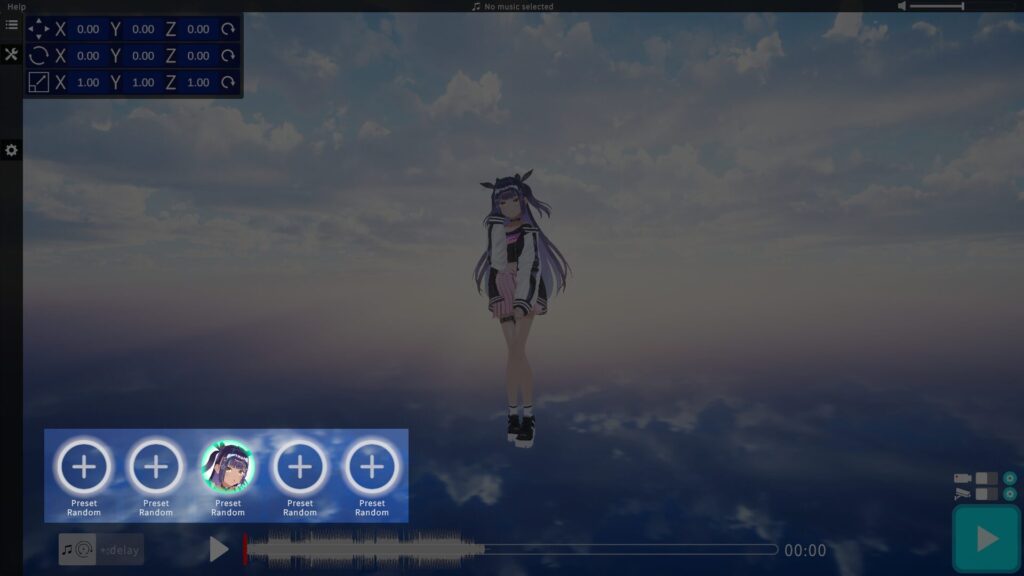
When you click the center switch button, a menu appears letting you choose from Preset Characters, VRoid Hub, or VRM Files. Please pick the method you prefer and select your VRM model.
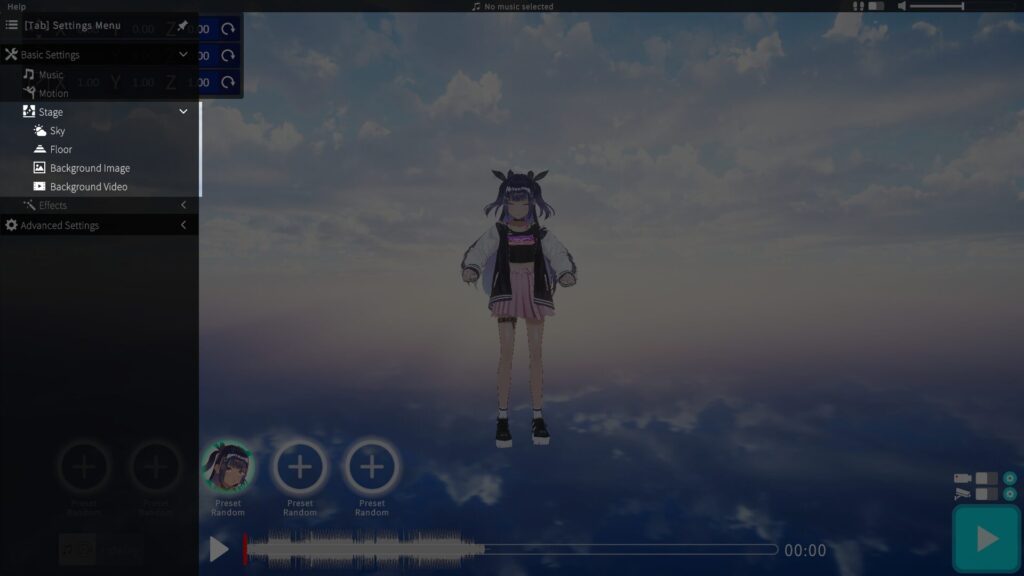
Music Video Customization (MV Settings)
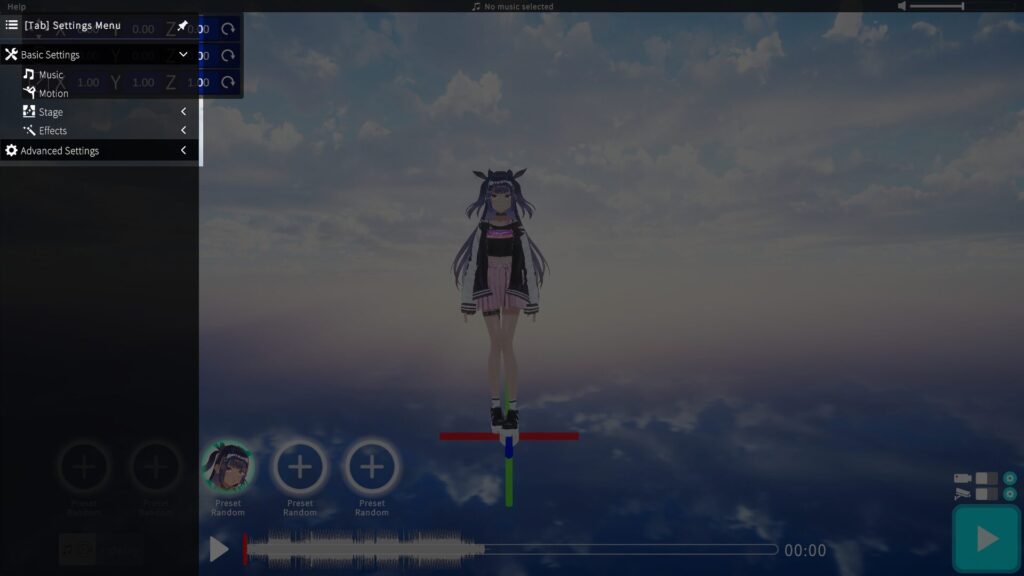
You can configure Dance, Music, Stage, and Effects from the black menu bar on the left. Hover over the left edge to expand the menu.
Click any setting to open its detailed menu on the right.
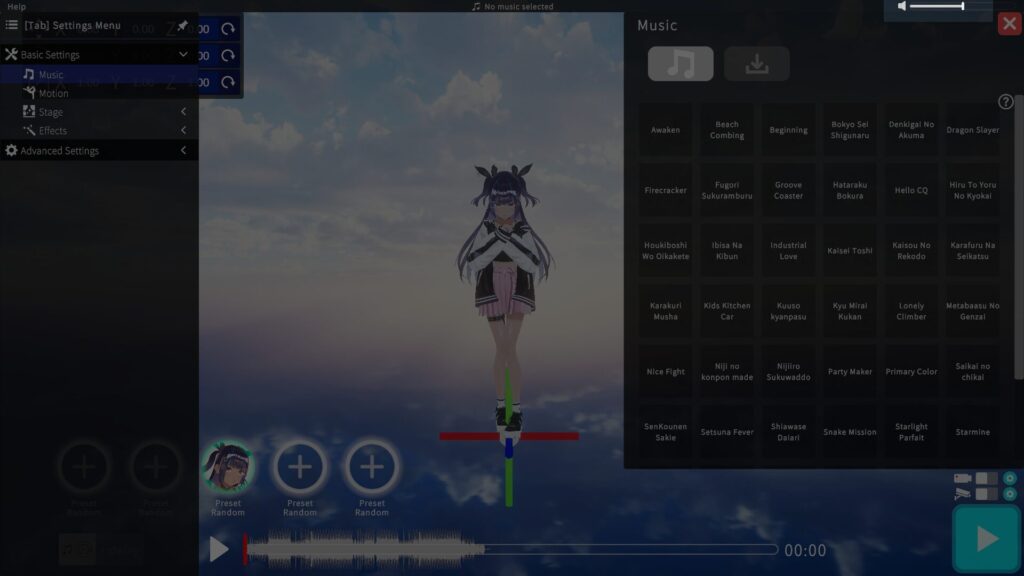
Music Settings
I let you pick one track for your MV. There are two tabs: Preset Music and Imported Music.

▶ Preset Music
Click a button to preview the track. The selected track will play during MV playback.
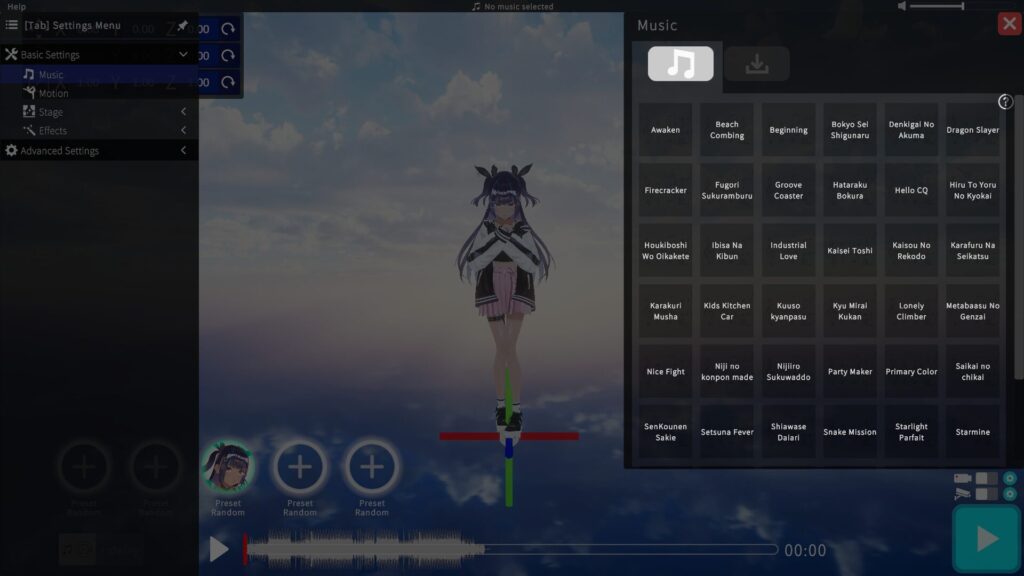
・You can adjust the volume by dragging the slider in the top-right corner.
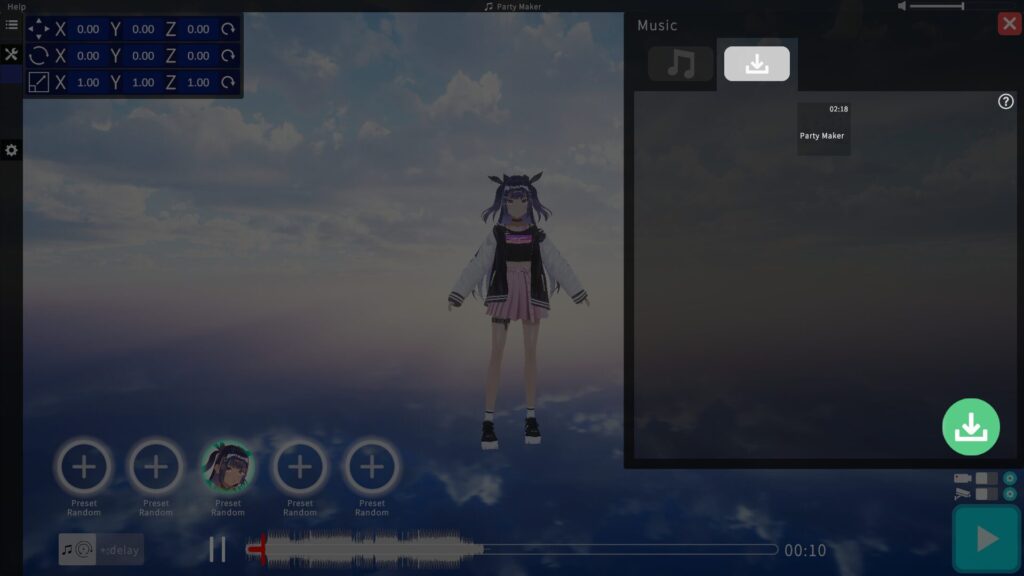
▶ Imported Music
Use the bottom‑right button to import your own music file.
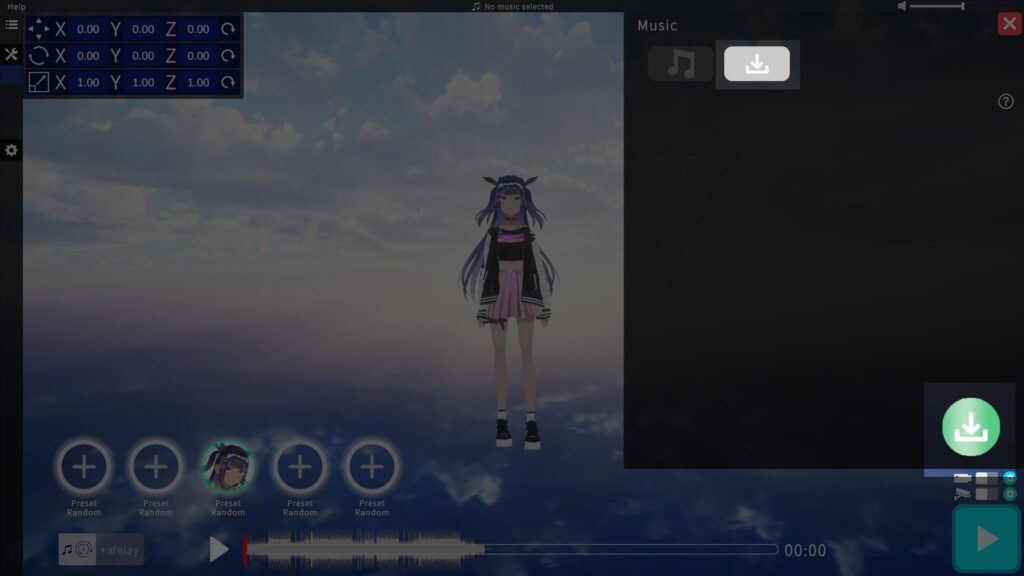
Once import finishes, a selection button appears and the track is applied immediately.
Note: In this Early Access stage, I’ve prioritized development speed, so imported tracks cannot be saved for future sessions.
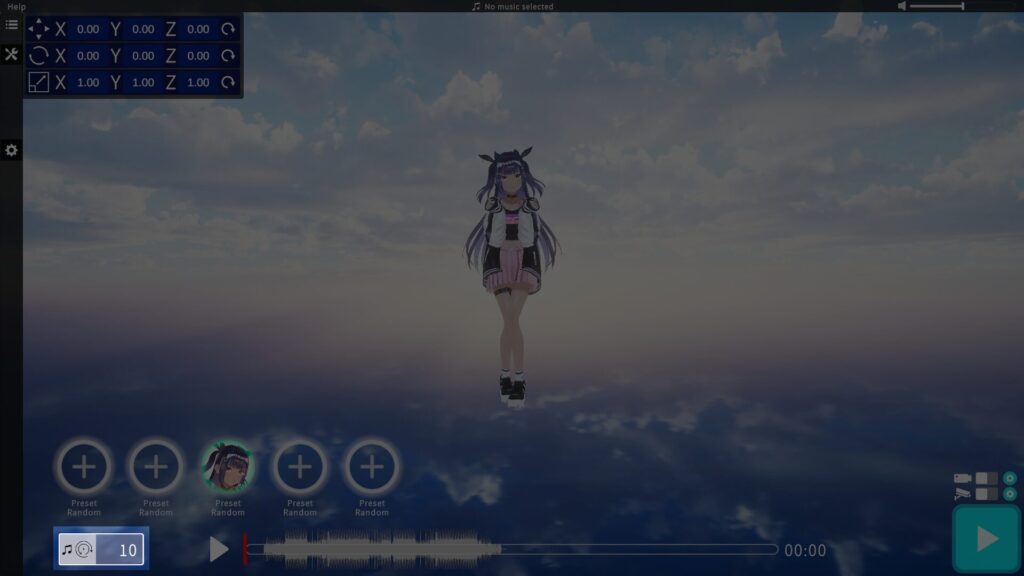
▶ Adjusting Music Playback Timing
If you want to adjust the timing of music playback, please enter a value in the box at the bottom left of the Home screen.
- Entering “10”: The music playback will be delayed by 10 seconds.
- Entering “-10”: The music playback will start 10 seconds earlier.
Dance Settings
Choose a dance motion from presets or import your own data.
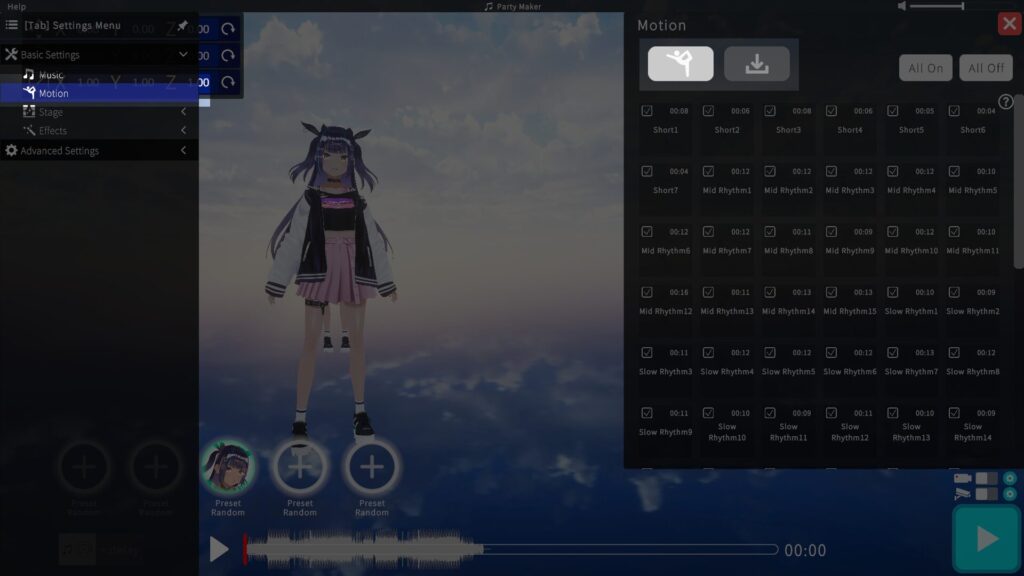
▶ Preset Dance
Preset dances range from a few seconds to tens of seconds.
Click each dance button to preview its motion.
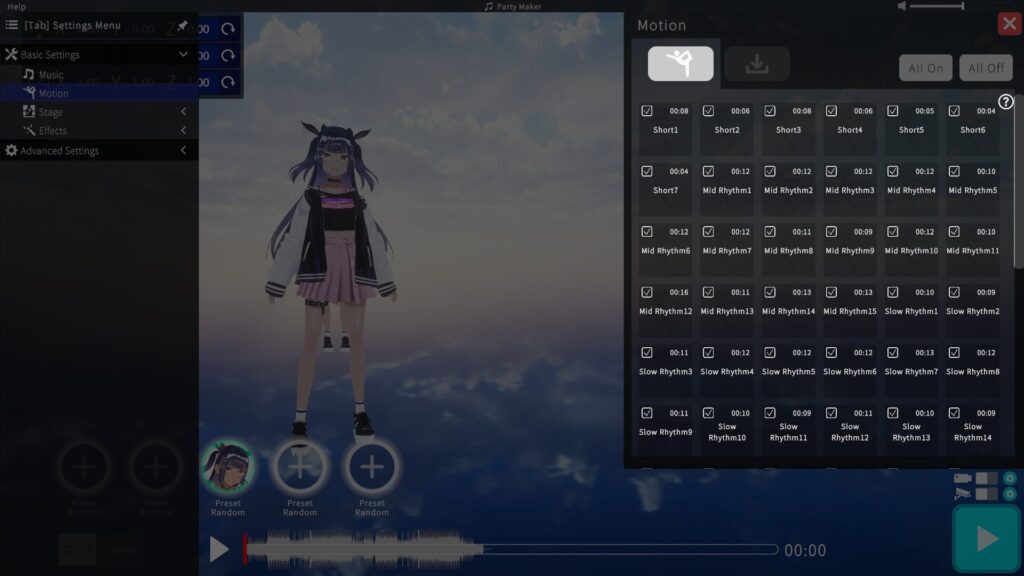
When you press Play on the home screen, a random preset dance is selected and played.
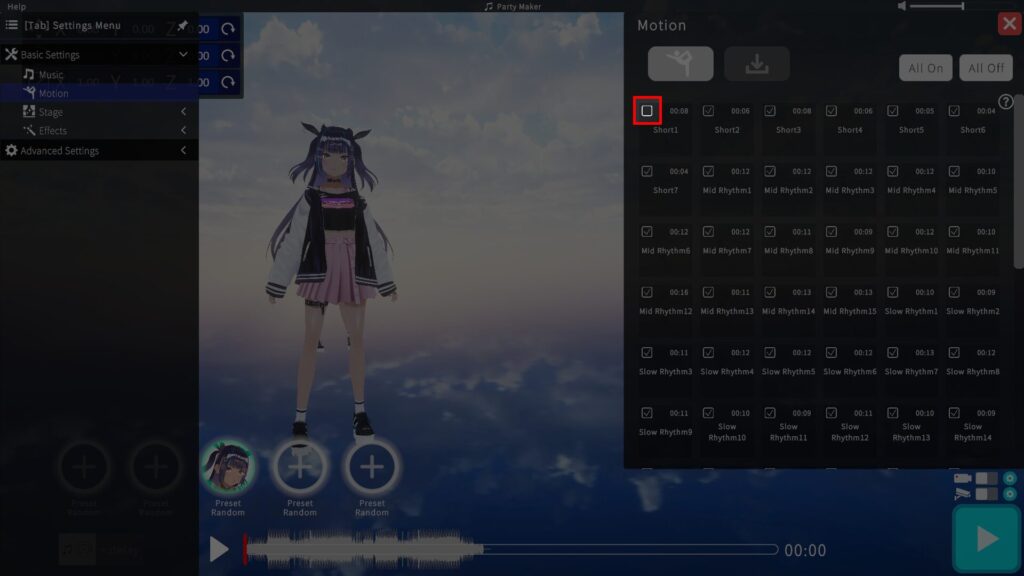
To exclude a preset you don’t want, uncheck its top‑left checkbox.
▶ Imported Dance
Use the bottom‑right button to import motion files (VRMA/VMD/BVH/FBX).
(Depending on the file, import may take several minutes.)
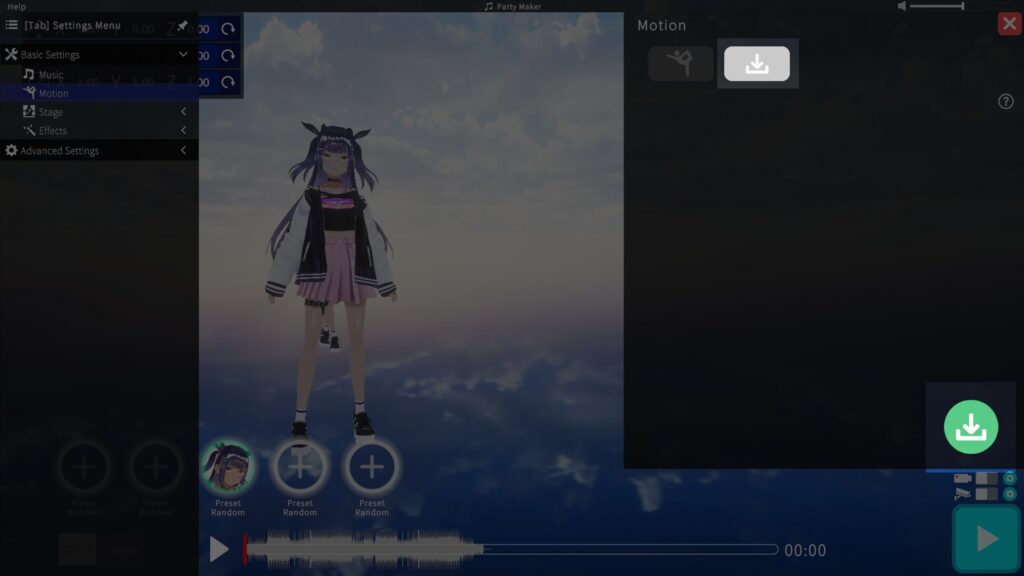
After import completes, a button appears—click it to preview the motion with a sample avatar. I automatically apply the last imported motion to all VRM models.
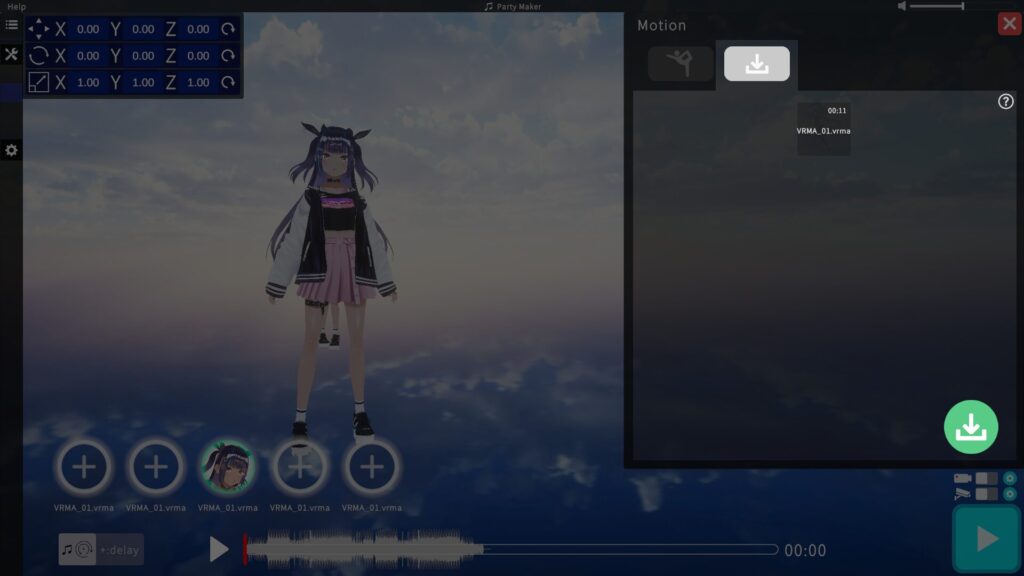
You can see which motion is applied to each model under its icon.
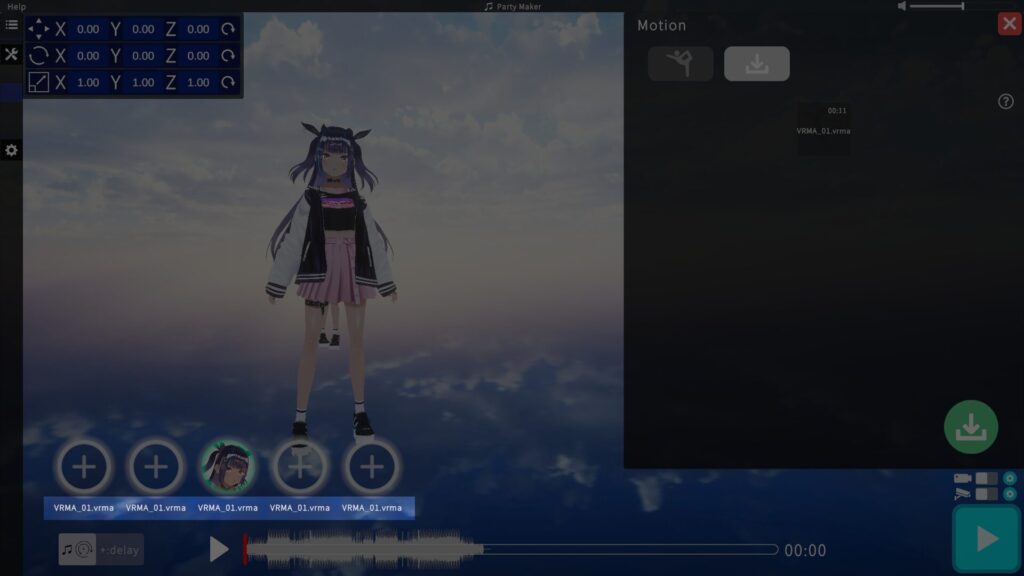
▷ To assign different motions per model
Right‑click the imported motion button to open the assignment menu, then select the target model slot.

Note: In Early Access, imported motions are not saved between sessions. Also, once you import a motion, presets become unavailable until you restart the app.
Stage Settings
Selecting Sky, Floor, Background Image, or Background Video from the left menu will open the settings on the right.
You don’t need to configure all four items. Set only the ones needed for your desired effect:
・For a 2D stage: configure either Background Image or Background Video.
・For a 3D stage: configure Sky and Floor.
▶ Sky Settings
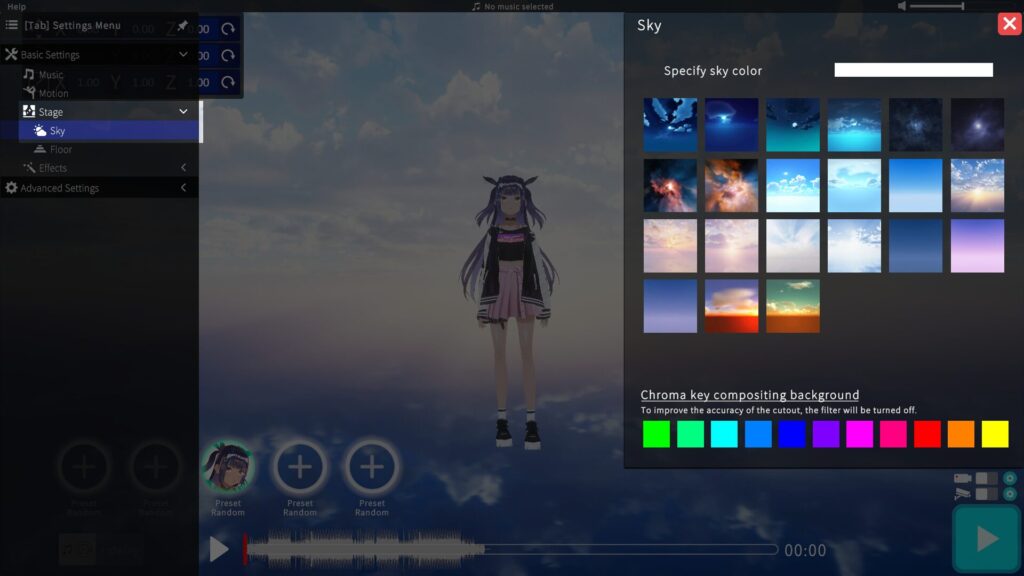
Top section: I let you choose the sky color freely from a color palette.
Middle section: I enable you to select an image for the sky.
Bottom section: I offer 11 background colors for chroma‑key compositing.
When you select a chroma‑key color, filter effects are automatically disabled.
If your model looks too dark as a result, go to Advanced Settings > Avatar Settings > Light and adjust the brightness.
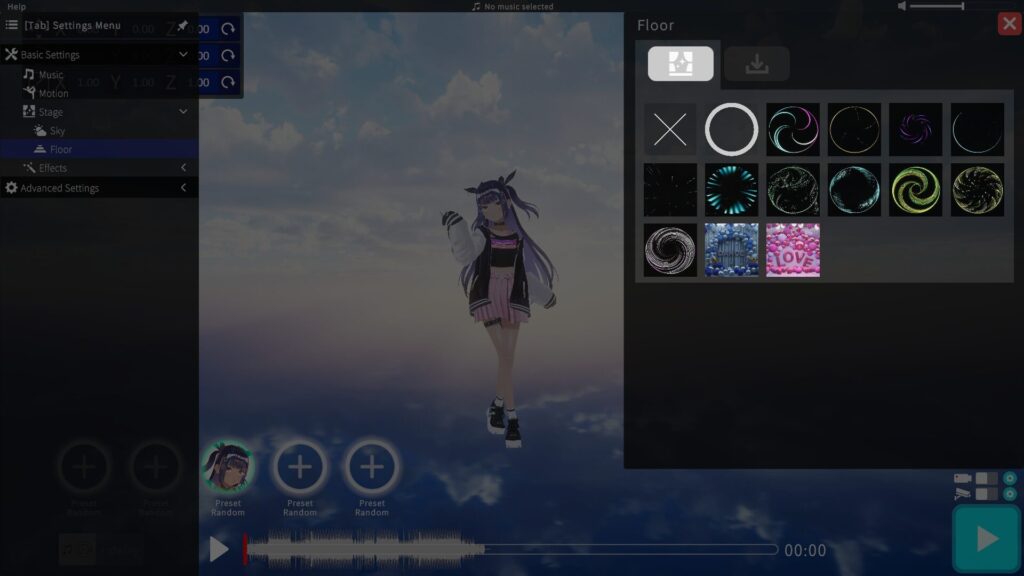
▶ Floor Settings
You can choose via Preset or Import (GLB format):
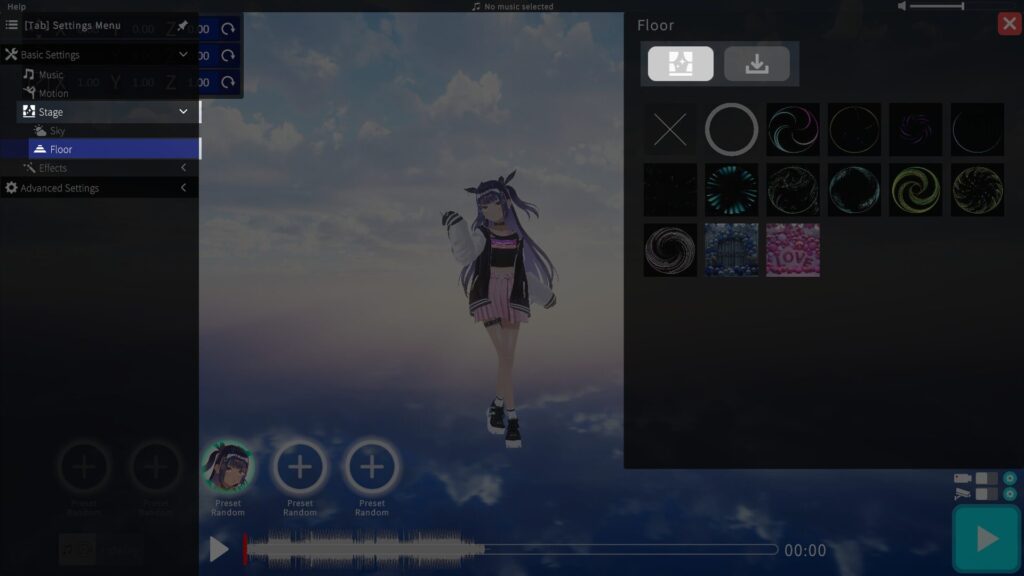
・Preset Floor
Press the buttons to cycle through preset floor designs.
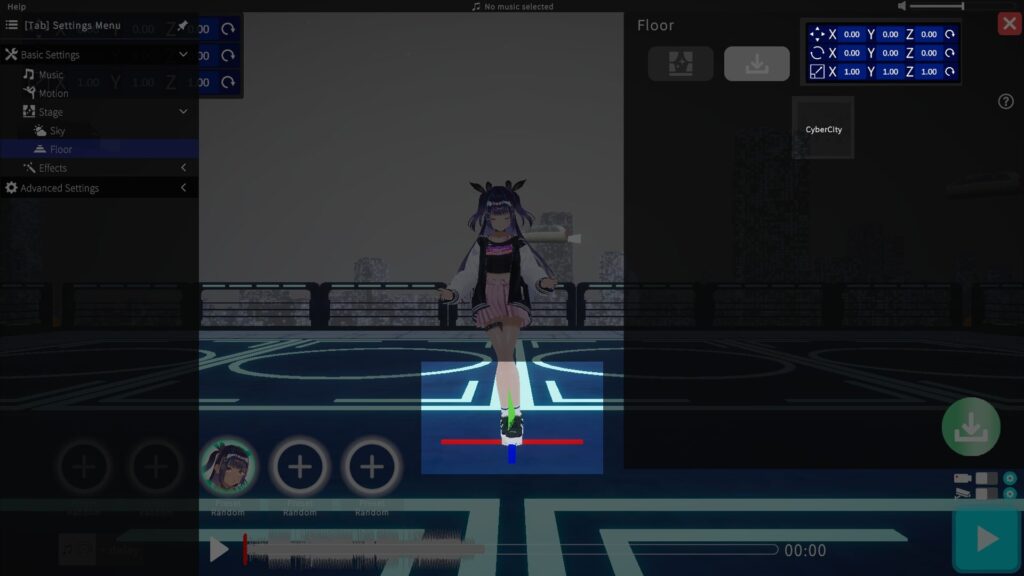
・Import Floor
Use the bottom‑right button to import a GLB‑format floor.
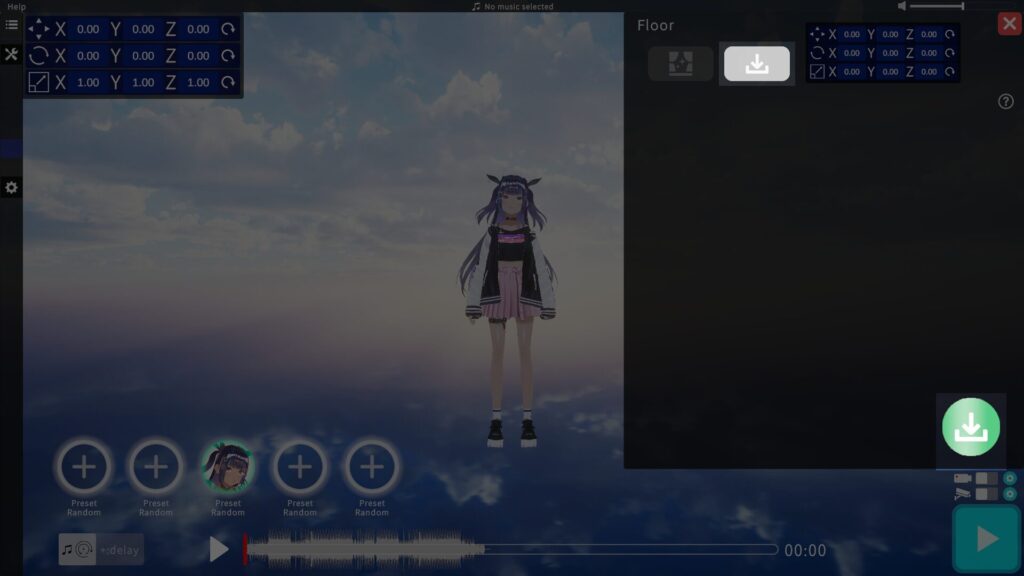
After import, you can adjust position, rotation, and scale in the top‑right window.
Drag the red, green, and blue arrows to reposition—these appear when you press the import button.
▶ Setting a Background Image
Import an image and apply it as the background.
You can import images using the button in the bottom-right corner.
Supported formats: JPG, JPEG, PNG
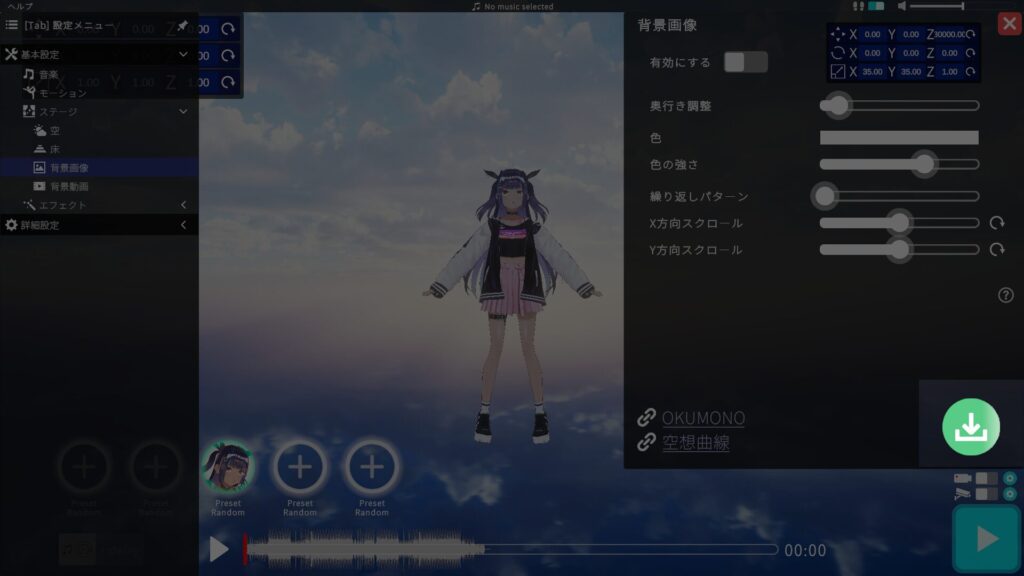
Once the image is imported, a button will be created.
Pressing this button will apply the image as the background.
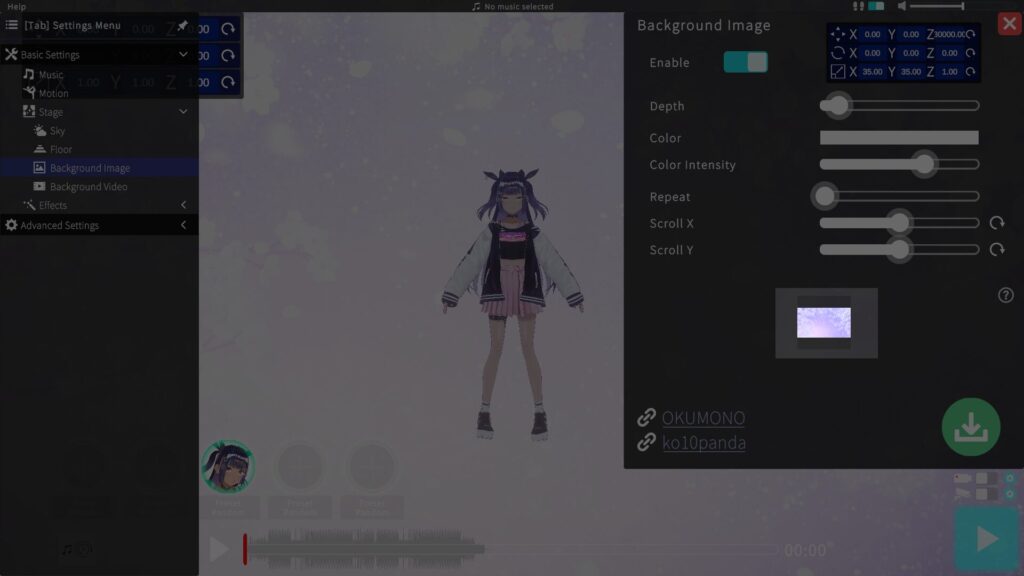
After selecting an image to use, adjust the settings according to your desired effect.
Settings:
・Depth
Adjusts the image size by changing its position forward or backward.
・Color
Changes the color tone of the image.
・Color Intensity
Adjusts the strength of the color. Higher values make the image appear whiter.
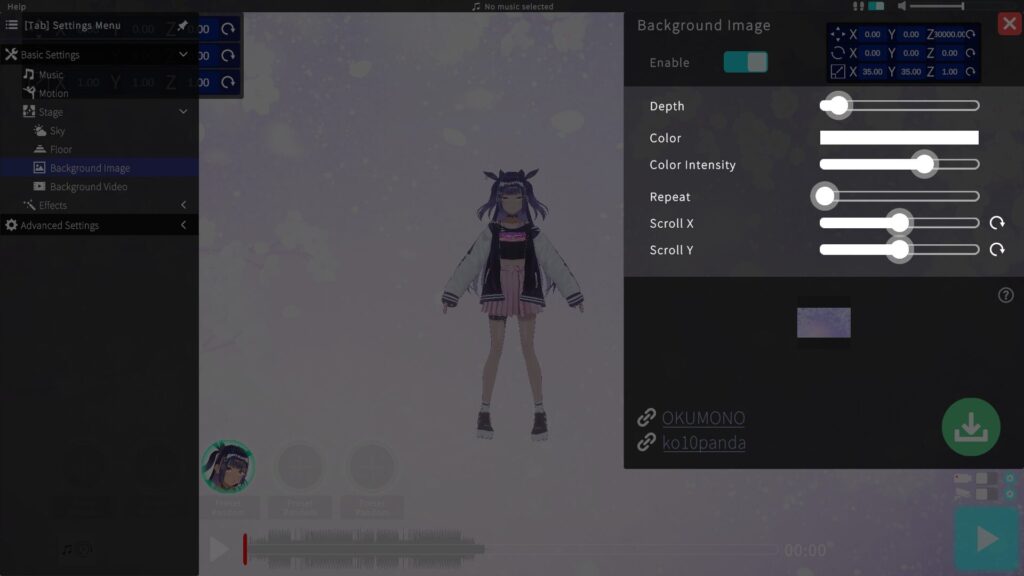
・Repeat
Use this to repeat the image multiple times. Mainly used to adjust the fineness of seamless patterns.
・Scroll X
Adjusts horizontal scrolling of the image. Moving the slider to the right scrolls the image to the right.
・Scroll Y
Adjusts vertical scrolling of the image. Moving the slider to the right scrolls the image upward.
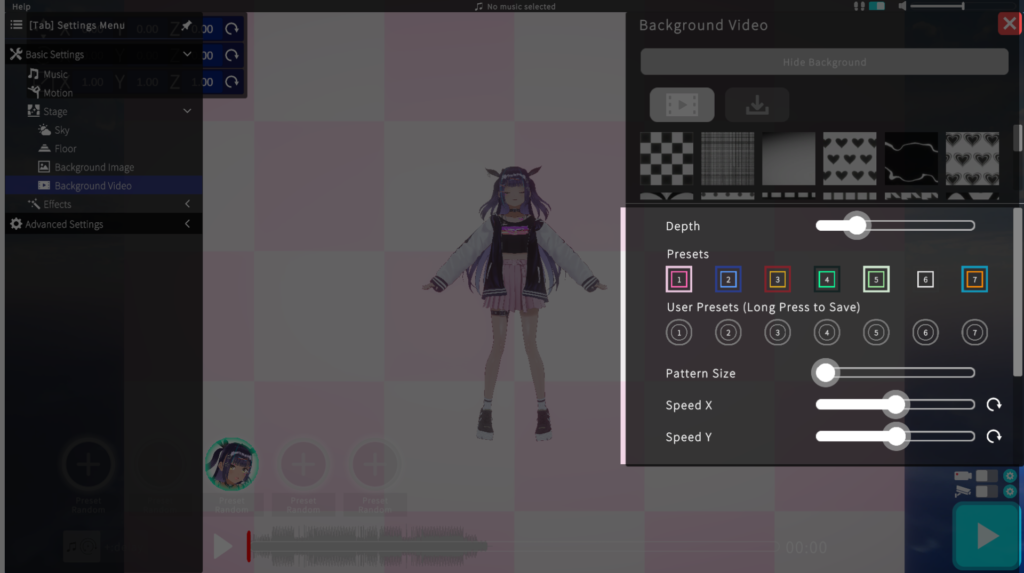
▶ Setting a Background Video
There are two tabs: Preset Background Videos and Imported Background Videos.

Preset Background Videos
Press a button to change the background video.
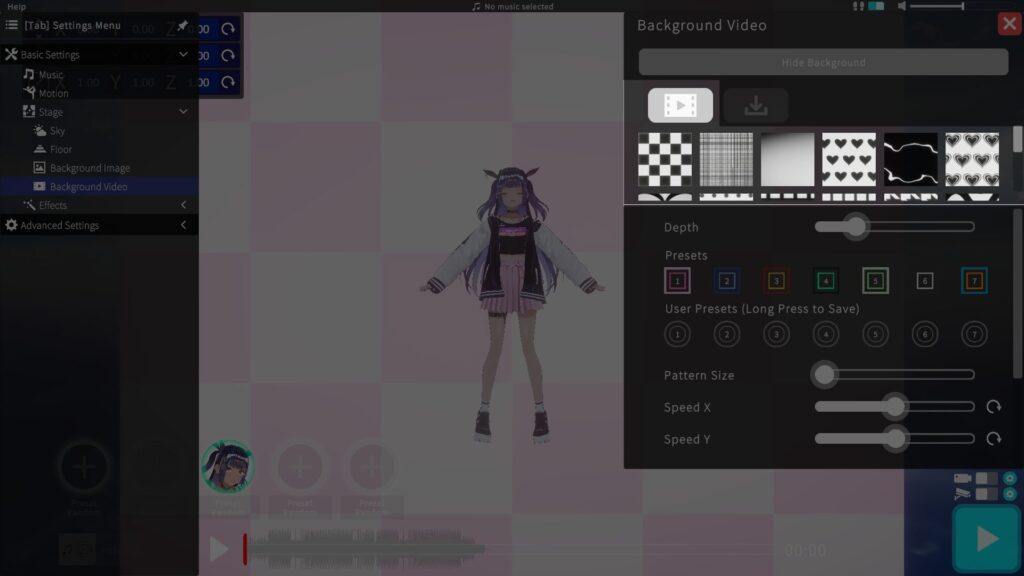
You can adjust settings such as depth, color, and pattern size to your liking.
The available settings may change depending on the background video.
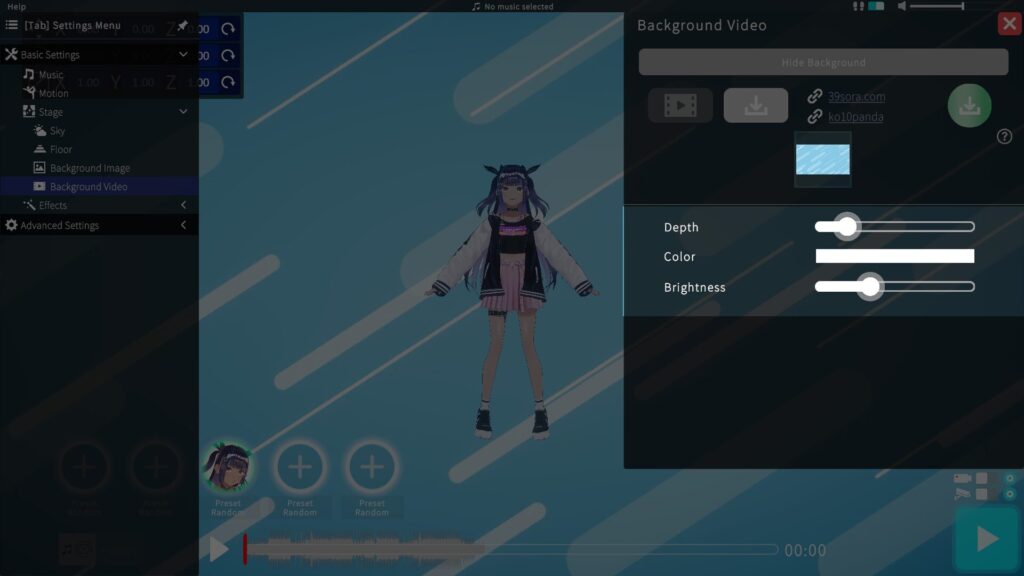
Imported Background Videos
Supported formats: MP4
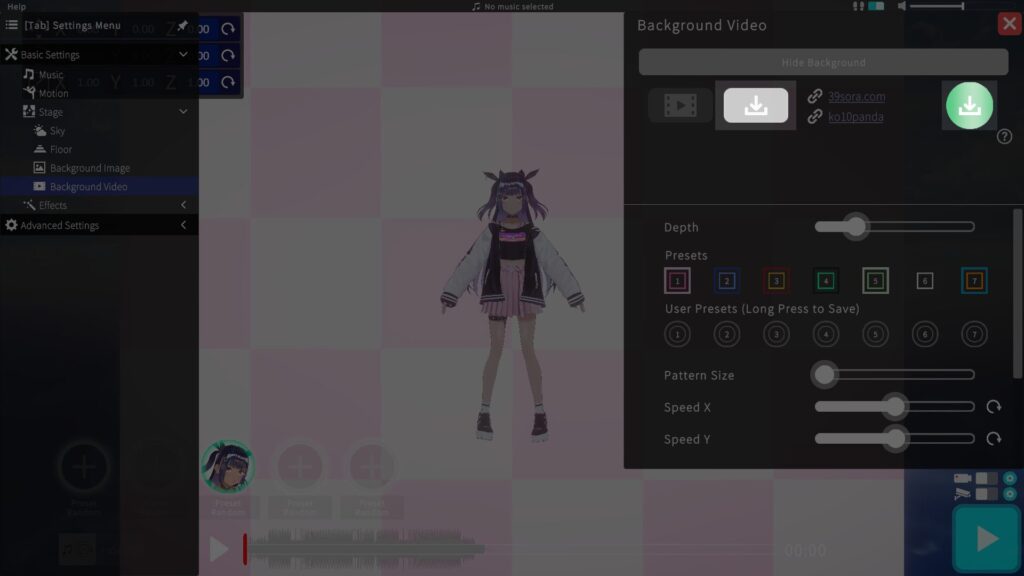
Once the background video is imported, a button will be created.
Pressing this button will apply the video as the background.
You can also adjust the color to your liking.
During the Early Access phase, saving imported music is not supported, as development speed is being prioritized.
Effect Settings
I let you add visual flair to your MV with effects.
▶ Filter Effects (Post‑Processing)
Adjust overall color tone and lighting effects of the video.
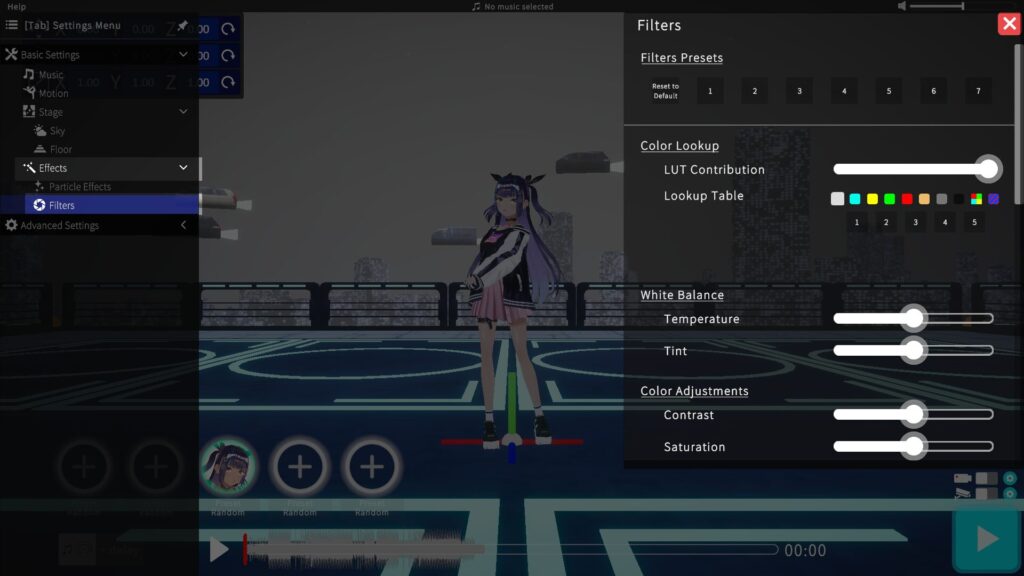
For beginners, selecting a filter preset applies multiple settings at once.
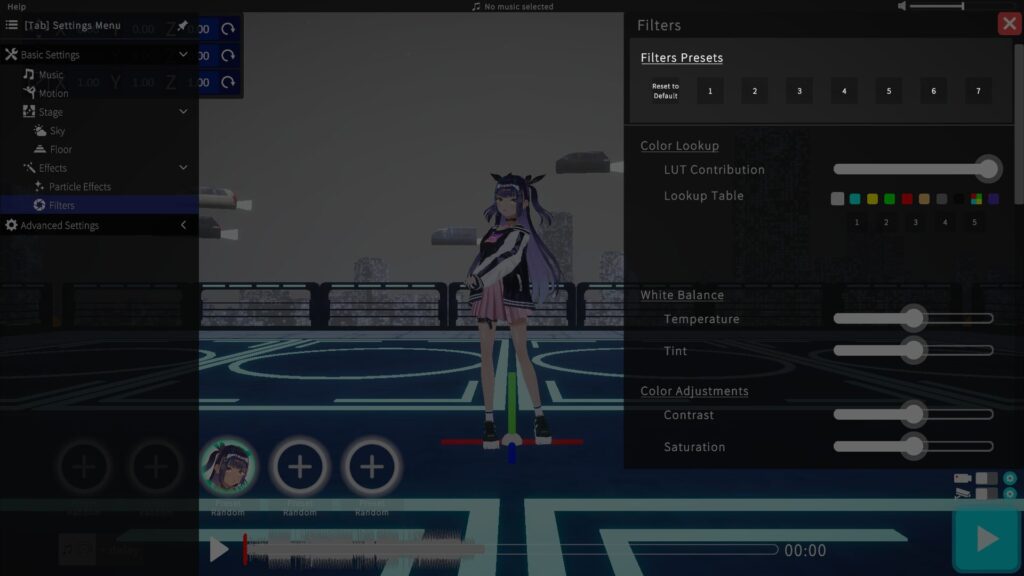
I explain the details of filter items on a separate page.
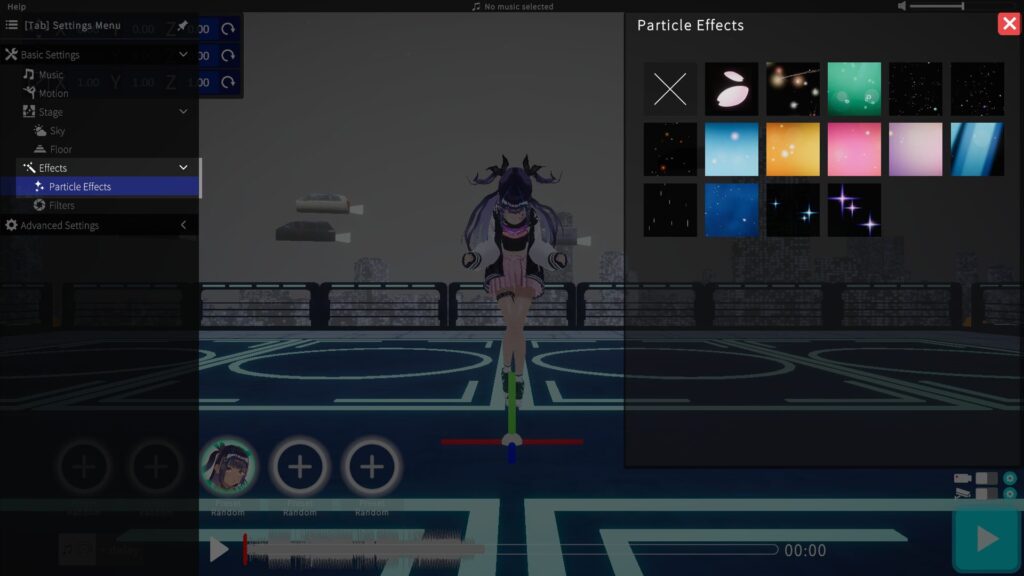
▶ Particle Effects
Choose one type of particle effect to display on screen.
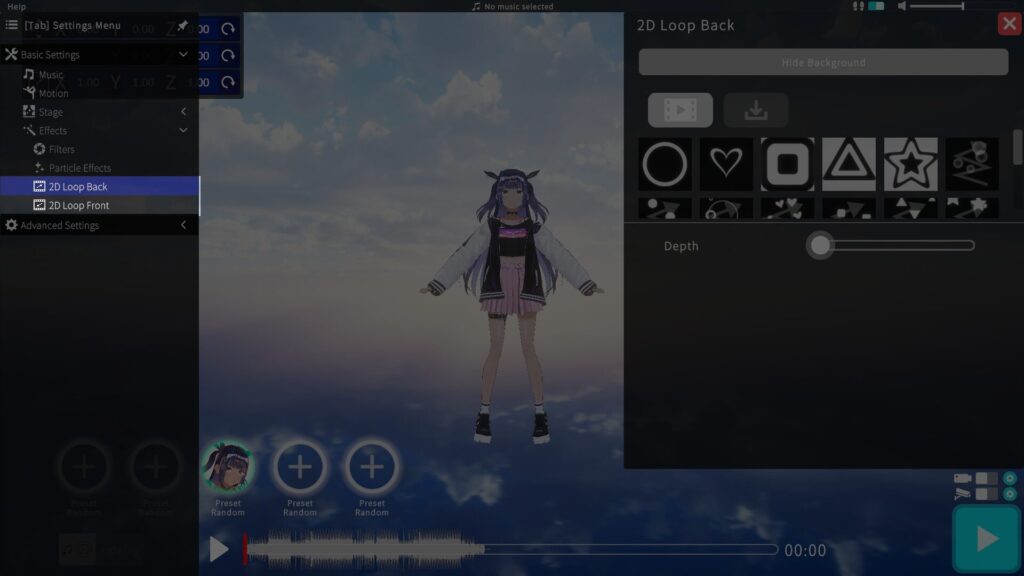
▶ 2D Loop
Two 2D effects can be displayed: one behind the VRM model and one in front of it.
The setup method is the same as Stage > Background Video
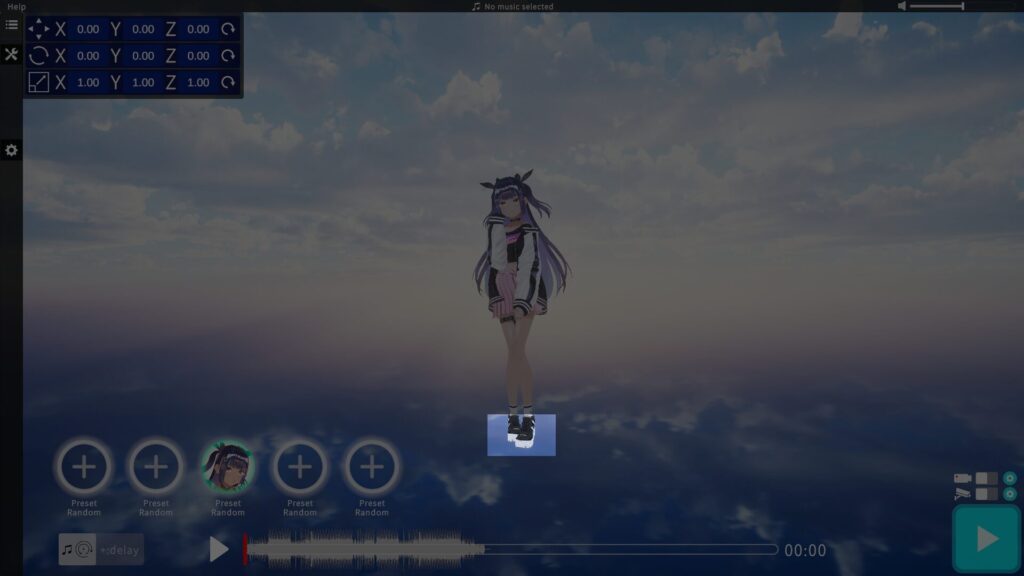
Moving the VRM Model
Double‑click near the model’s feet and drag to move the model horizontally.
Camera Controls on the Home Screen
| Action | How to Execute |
|---|---|
| Rotate Camera | Right‑drag |
| Pan Camera | Shift + left-drag W:forward S:backward A:left D:right E:up Q:down |
| Zoom in/out | Mouse wheel or trackpad scroll |
Recording Guide
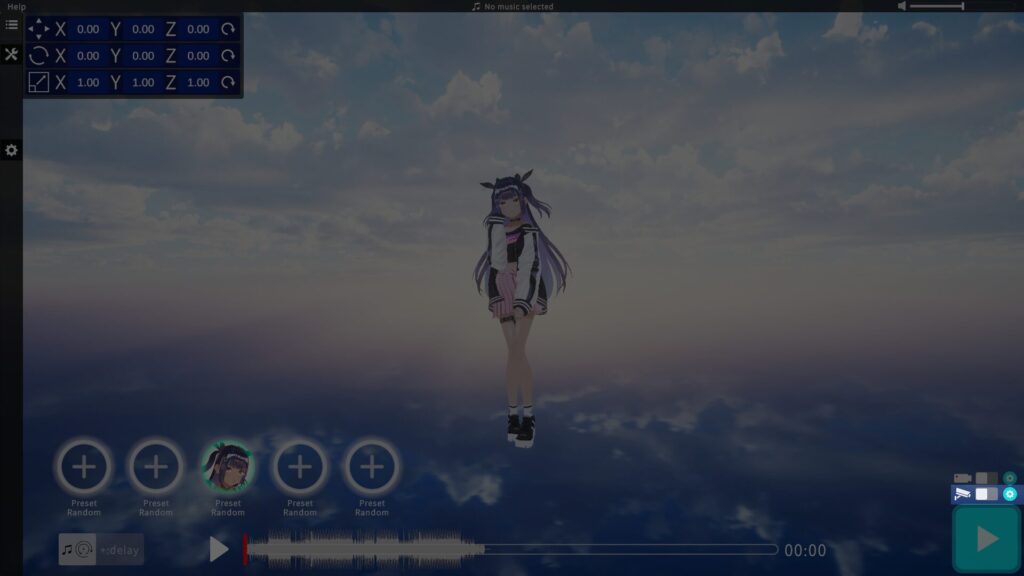
Toggle the recording switch above the Play button to enable recording.
When you press Play and then stop with Esc or Backspace, the video saves automatically.
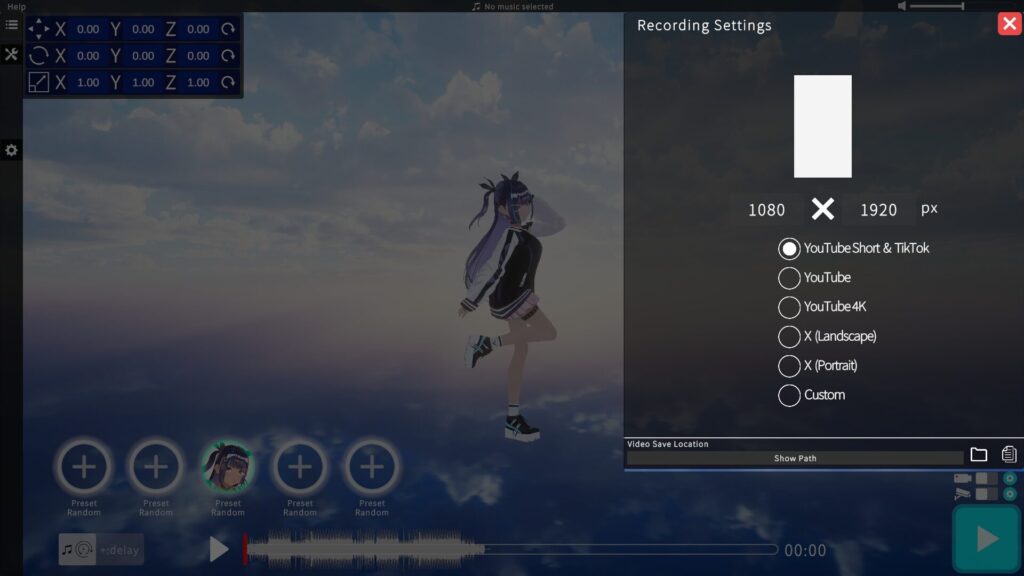
Resolution Settings
▶ Resolution
Click the gear icon next to the recording switch to choose your desired resolution.
▶ Save Location
Click the folder icon at the bottom right of the settings window to specify where recordings are saved.
Note: If you record at a resolution higher than the monitor size, some effects may not be displayed correctly.
Fixed‑Camera Playback
To play without automatic camera work, turn on the fixed‑camera switch above the Play button.
Fixed‑Camera Controls (During Playback)
While an MV plays in fixed‑camera mode, you can temporarily move the camera with the arrow keys (it returns to its original position afterward).
| 動作 | キー |
|---|---|
| Move Forward | ↑ |
| Move Backward | ↓ |
| Move Left | ← |
| Move Right | → |
| Move Up | Shift + ↑ |
| Move Down | Shift + ↓ |
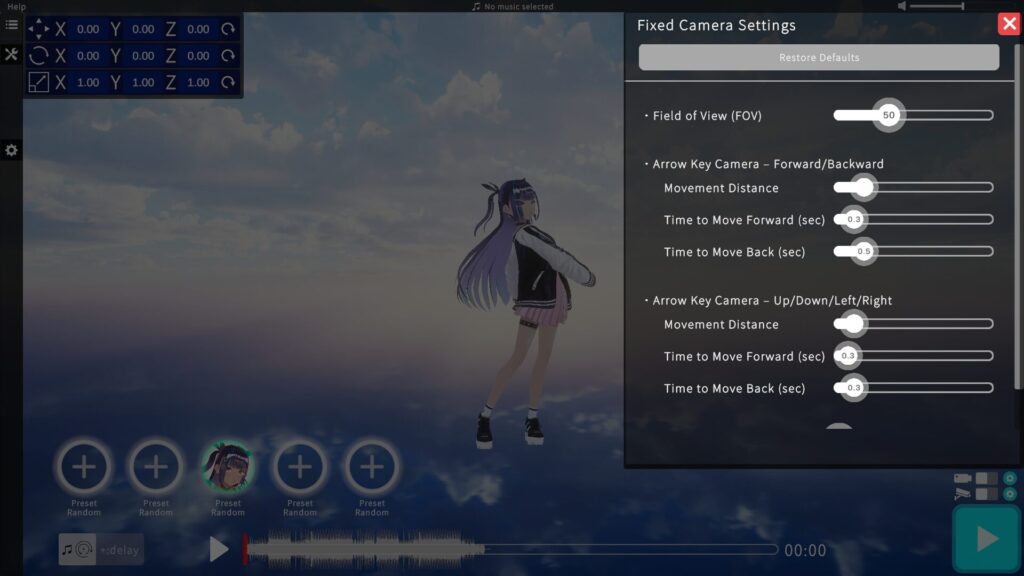
Fixed‑Camera Settings
Click the gear icon next to the fixed‑camera switch for detailed options:
Camera Shake Amount:
Add natural random shake for more dynamic footage.
Field of View (FOV):
Adjust the camera’s viewing angle.
~20° for close‑ups, ~50° for full‑body shots. Find the most flattering angle for your distance.
Arrow‑Key Camera Movement (Forward/Backward):
Configure move distance, speed in, and speed out.
Arrow‑Key Camera Movement (Up/Down):
Configure move distance, speed in, and speed out.
I hope this guide helps you create your own unique dance MVs! Enjoy experimenting and have fun!